
☀️ GoHighLevel snapshot · Solar Installers
Solar snapshot mini-course
Six short visual lessons. Follow along in your own GoHighLevel account and you’ll be live by lesson 6.
Lesson 1
Install the snapshot and brand it for a solar company
Lesson 2Lead capture and speed-to-lead
Lesson 3Consultation booking and no-show recovery
Lesson 4Proposals, pipeline and long-term nurture
Lesson 5Reviews, referrals and reactivation
Lesson 6Launch and run the rate increase playbook
Lesson 1 of 6
Install the snapshot and brand it for a solar company
Load the snapshot and make every message sound like the installer.
- In the agency view, go to Sub-Accounts and choose Load Snapshot on the solar client's account
- Go to Settings > Business Profile and set the name, address and time zone
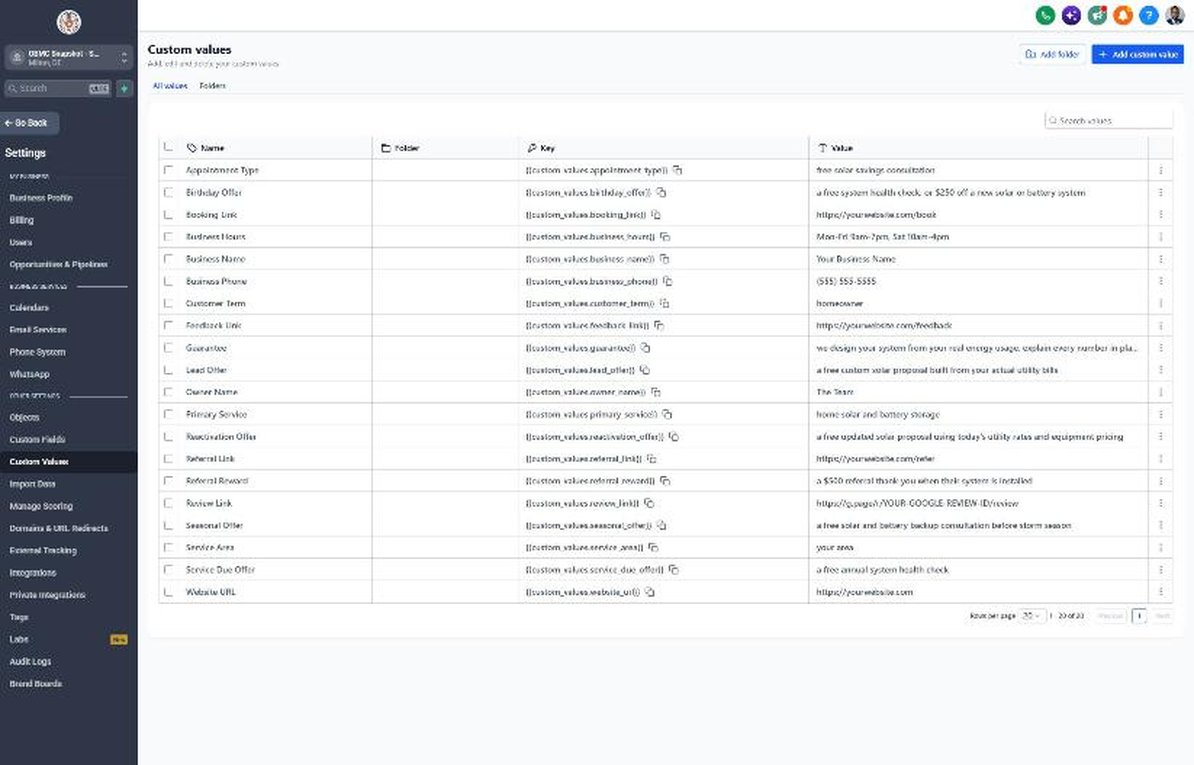
- Go to Settings > Custom Values and fill in business details and service area
- Review the lead offer, referral reward and seasonal offer in Custom Values
- Go to Settings > Email Services and verify a sending domain
Lesson 2 of 6
Lead capture and speed-to-lead
Contact every solar lead within seconds and collect the utility bill early.
- Go to Sites > Forms > Builder and confirm the bill range, Home Ownership and Utility Company questions
- Add a clear SMS and call consent checkbox and embed the form
- Map Facebook or Google lead forms under Settings > Integrations
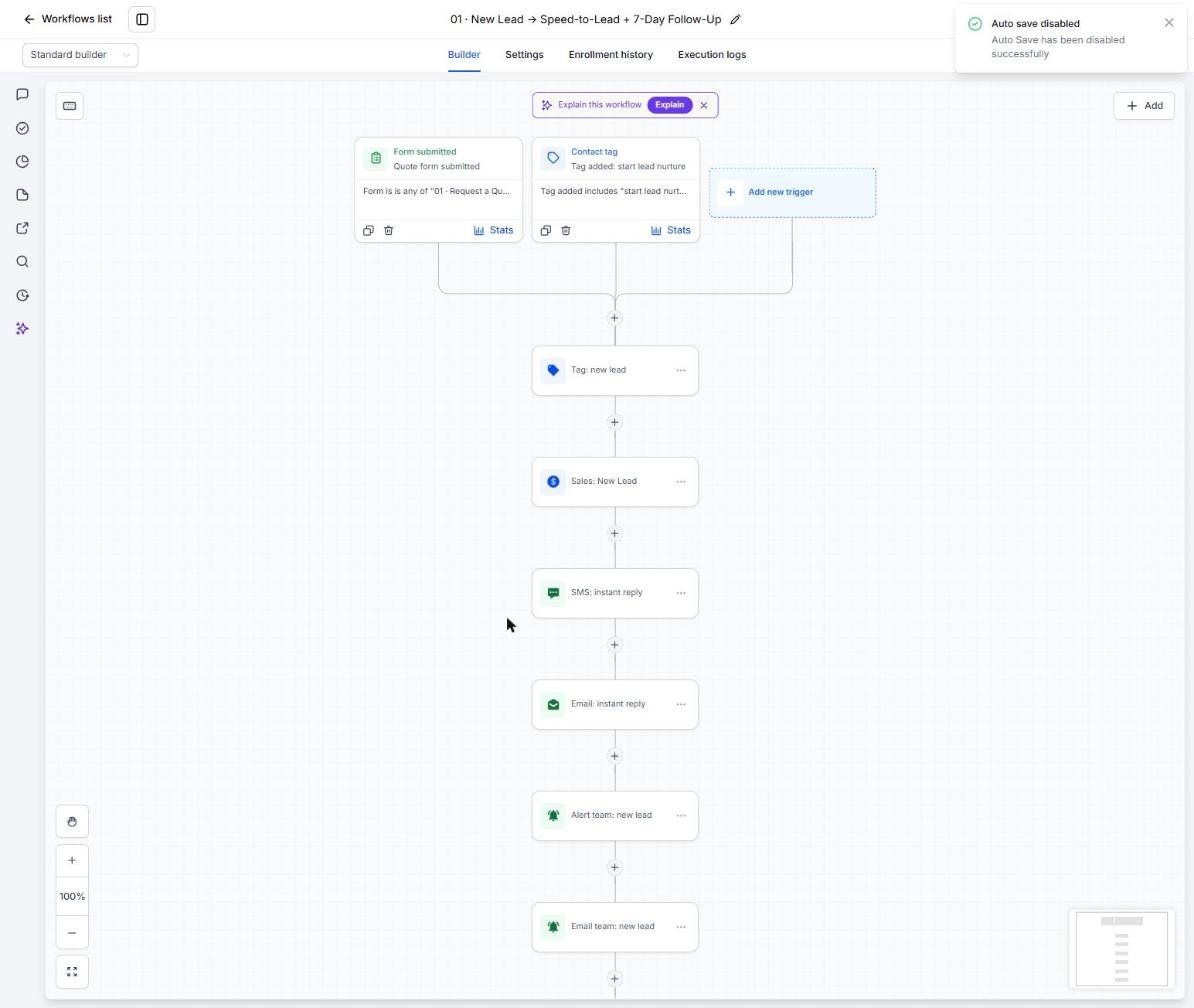
- Go to Automation > Workflows, open 01 New Lead and point the alerts at the energy consultants
- Submit a test lead and publish workflows 01, 02 and 03
Lesson 3 of 6
Consultation booking and no-show recovery
Fill consultants' calendars and recover no-shows with video options.
- Go to Calendars > Calendar Settings and open Solar Savings Consultation
- Assign consultants, choose in-home or video, and set travel buffers
- Copy the booking link into the booking_link custom value
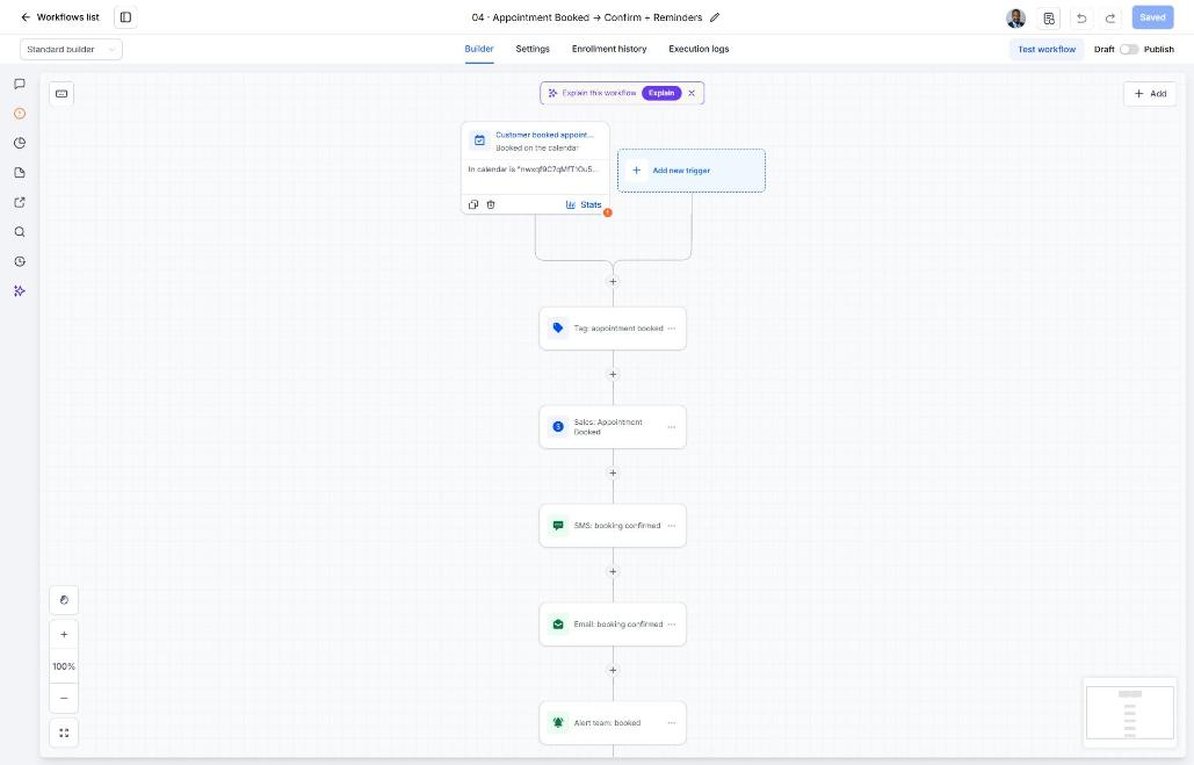
- Open workflow 04 and review the bill-ready reminder texts
- Publish workflow 05 so no-shows get a video or phone option
Lesson 4 of 6
Proposals, pipeline and long-term nurture
Follow up on every proposal and keep not-ready homeowners in nurture.
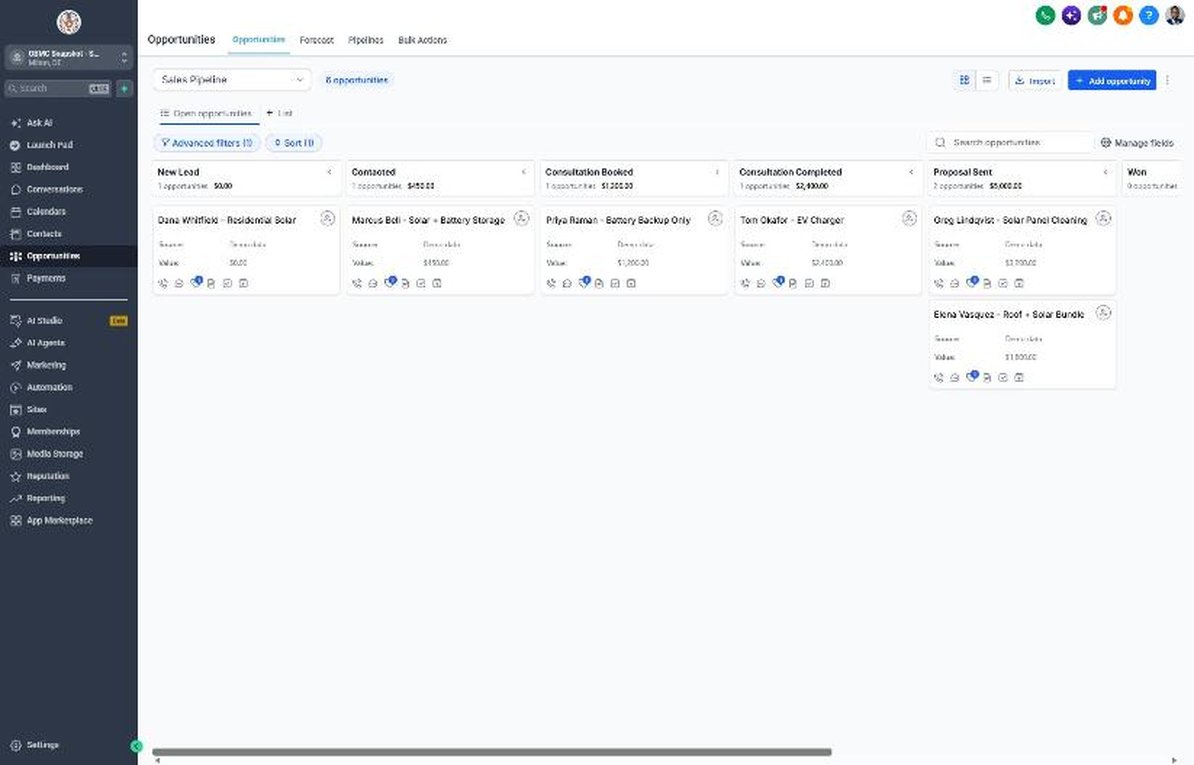
- Go to Opportunities > Pipelines and review the Sales Pipeline stages
- Move a test deal to Proposal Sent and confirm workflow 07 starts
- Review workflow 09 for 30, 60 and 90-day nurture of lost deals
- Review workflow 18 so stalled deals alert the owner after 7 days
- Move signed deals to Won and watch the Customer Journey pipeline start
Lesson 5 of 6
Reviews, referrals and reactivation
Turn activated systems into reviews and neighbor referrals, and revive old leads.
- Go to Reputation > Settings and paste the Google review link into the review_link custom value
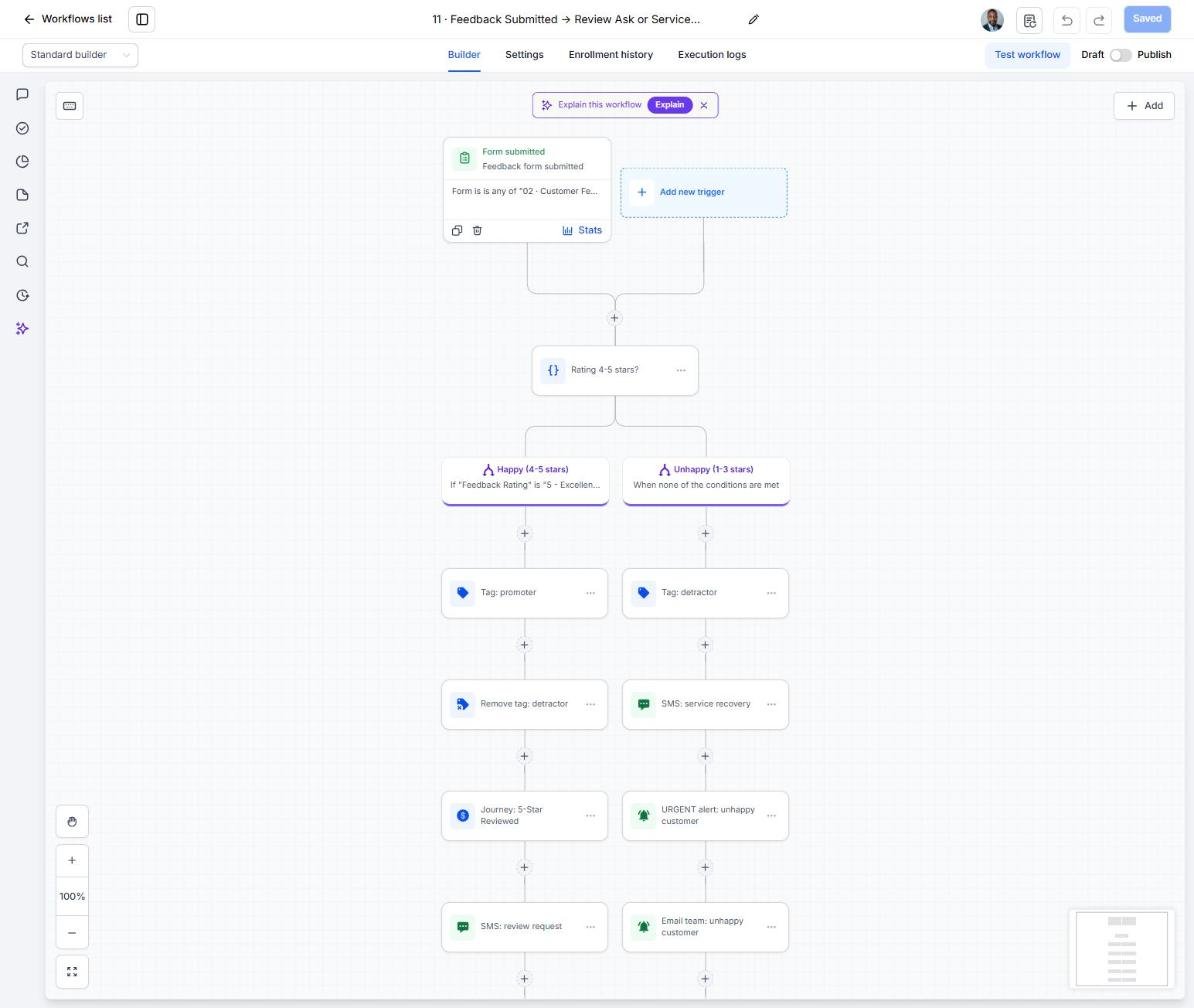
- Open workflow 11 and confirm 4-5 star ratings go to Google and 1-3 star ratings alert the owner
- Set the referral reward in Custom Values and test the Refer a Friend form
- Import old leads under Contacts > Import with consent status
- Launch workflow 14 to a small batch and work replies in Conversations
Lesson 6 of 6
Launch and run the rate increase playbook
Go live and be ready to launch the Utility Rate Increase Alert when rates change.
- Run a full test: form, booking, missed call and reply
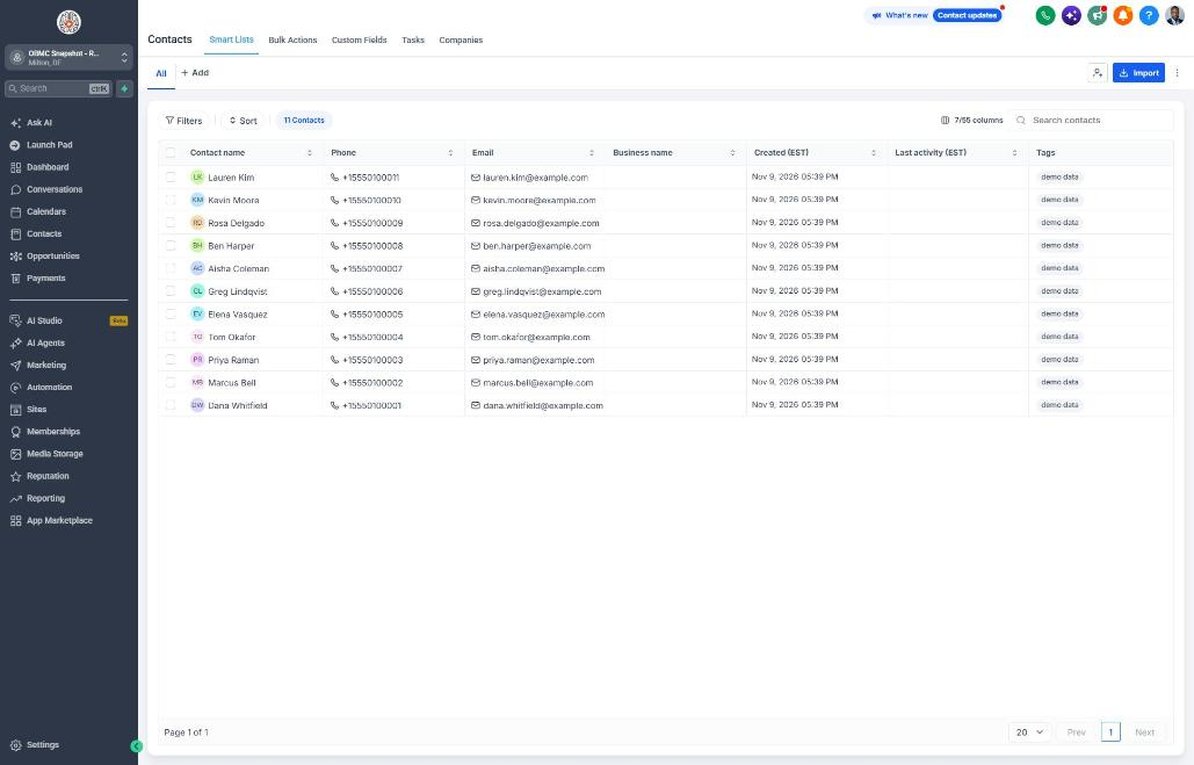
- Go to Contacts and build smart lists by Utility Company
- When a rate increase is announced, edit workflow 21's copy with the utility name and effective date
- Add the trigger tag to the matching smart list to launch the campaign
- Work YES replies and bill photos in Conversations first, then track results on the Dashboard
Launch your next solar client this week
One-time $397. Includes the snapshot, both PDFs, the walkthrough and the mini-course. Or get all 20 niches for $1,997.