
💇 GoHighLevel snapshot · Salons & Barbershops
Salon snapshot mini-course
Six short visual lessons. Follow along in your own GoHighLevel account and you’ll be live by lesson 6.
Lesson 1
Install and brand the salon snapshot
Lesson 2Capture new clients and reply in seconds
Lesson 3Bookings, deposits and no-shows
Lesson 4Turn first visits into regulars
Lesson 5Reviews, referrals and lapsed clients
Lesson 6Launch rebooking and slow-day fill-ups
Lesson 1 of 6
Install and brand the salon snapshot
Get the snapshot into the salon's sub-account and branded with its name, offers and hours.
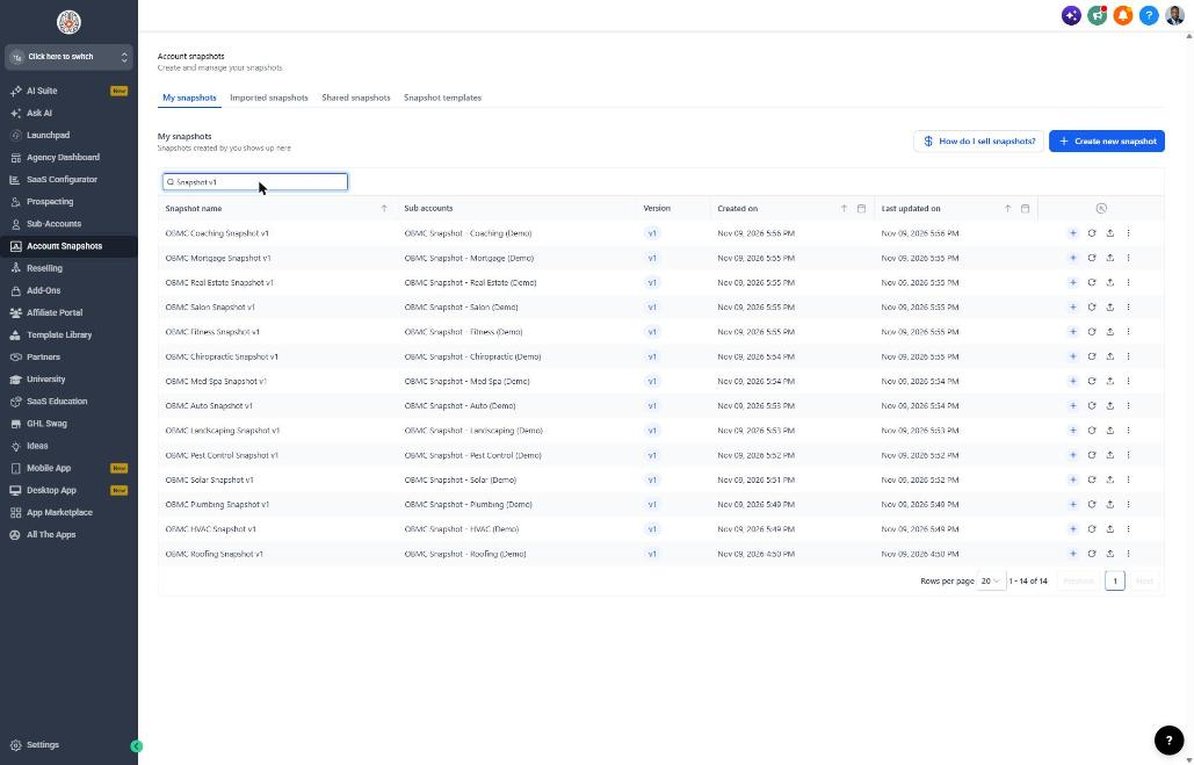
- Import the snapshot link, then go to Account Snapshots > Imported Snapshots and push it to the salon's sub-account.
- Open Settings > Business Profile and add the salon name, logo, address and time zone.
- Go to Settings > Custom Values and fill in owner name, phone, booking link and service area.
- Confirm the new-client, referral, returning-client and birthday offers with the owner.
- Update Business Hours so clients know when to expect a reply.
Lesson 2 of 6
Capture new clients and reply in seconds
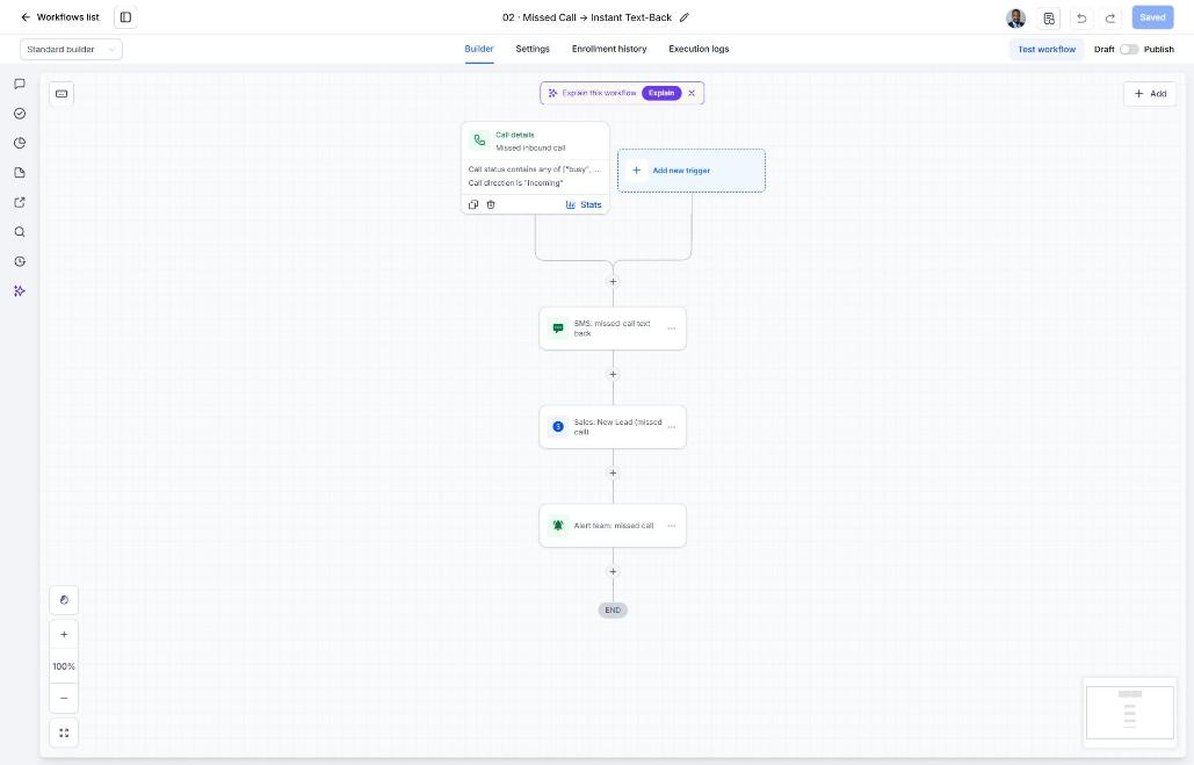
Make sure every inquiry and missed call gets an instant response with the new-client offer.
- Go to Sites > Forms > Builder and update the service list and stylist names.
- Embed the form on the website and add the link to the Instagram bio.
- Open Automation > Workflows > 02 and confirm the missed-call text-back is published.
- Open workflow 01 and set the new-lead alert to the front desk.
- Submit a test inquiry and check Conversations for the instant text and email.
Lesson 3 of 6
Bookings, deposits and no-shows
Set up the calendar, cancellation policy and deposits so no-shows stop costing the salon.
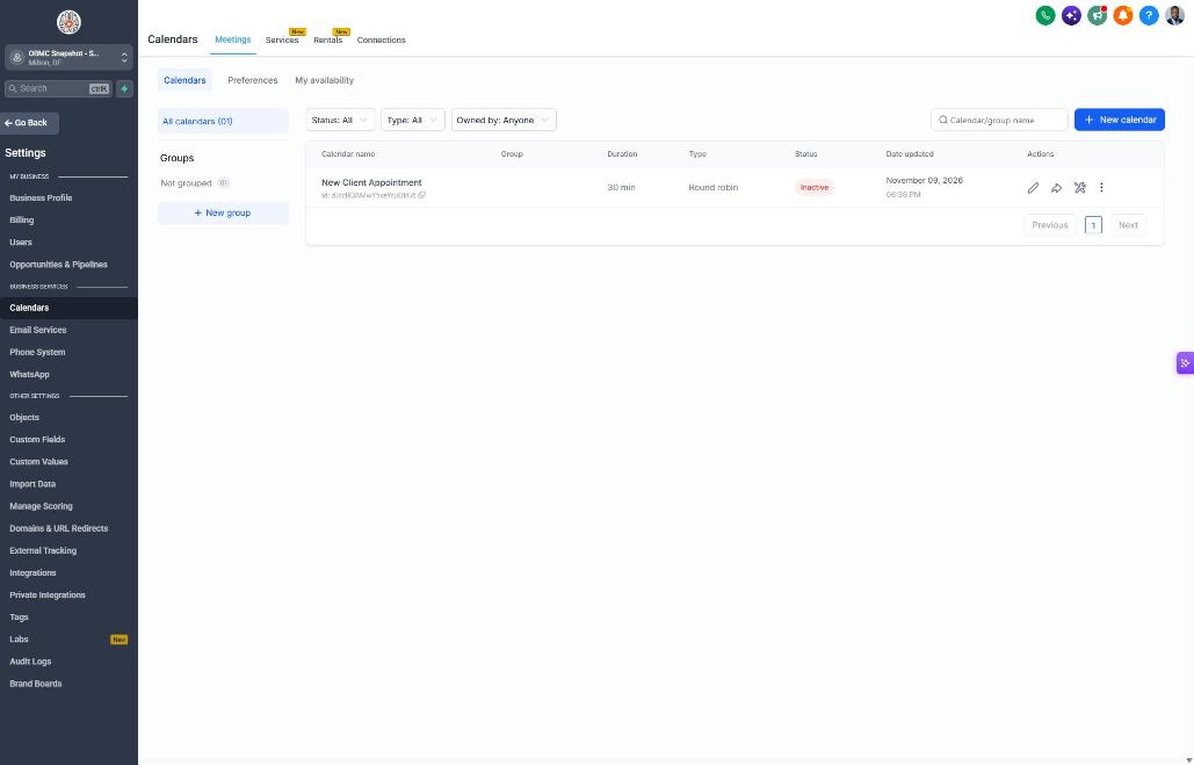
- Go to Calendars > Calendar Settings and edit New Client Appointment.
- Assign stylists, set service durations and add buffers for color services.
- Connect Stripe under Payments > Integrations and turn on deposits if the salon uses them.
- Open workflow 04 and confirm the 24-hour policy wording matches the salon's rules.
- Open workflow 05 and review the no-show and deposit follow-up.
Lesson 4 of 6
Turn first visits into regulars
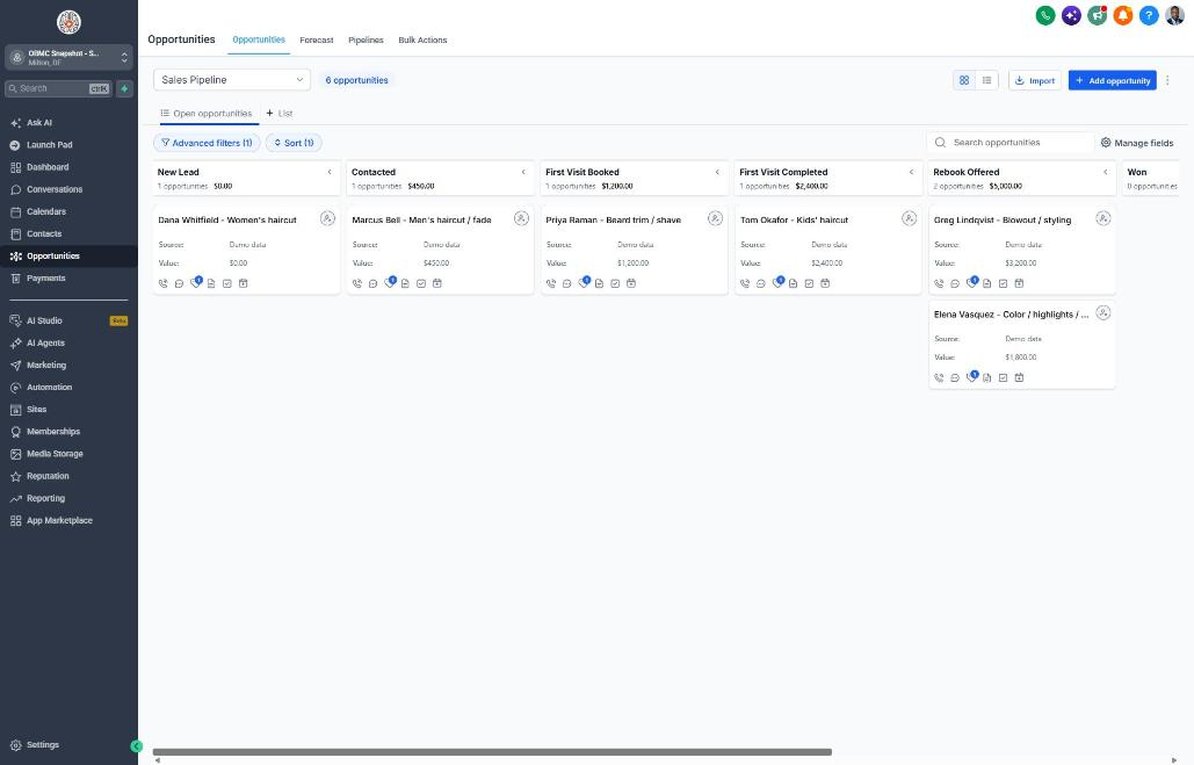
Use the Sales Pipeline to get every new client to book a second visit.
- Go to Opportunities > Pipelines and walk through First Visit Booked, First Visit Completed and Rebook Offered.
- Train the front desk to move a card to First Visit Completed after checkout.
- Review workflows 06 and 07 so the rebooking suggestion matches the service.
- Move cards to Won when the client books their next visit.
- Use workflow 18 alerts to catch new clients nobody has followed up with.
Lesson 5 of 6
Reviews, referrals and lapsed clients
Turn happy clients into reviews and referrals and bring lapsed clients back.
- Go to Settings > Integrations and connect the Google Business Profile.
- Confirm the review link in Reputation > Settings and the review_link custom value.
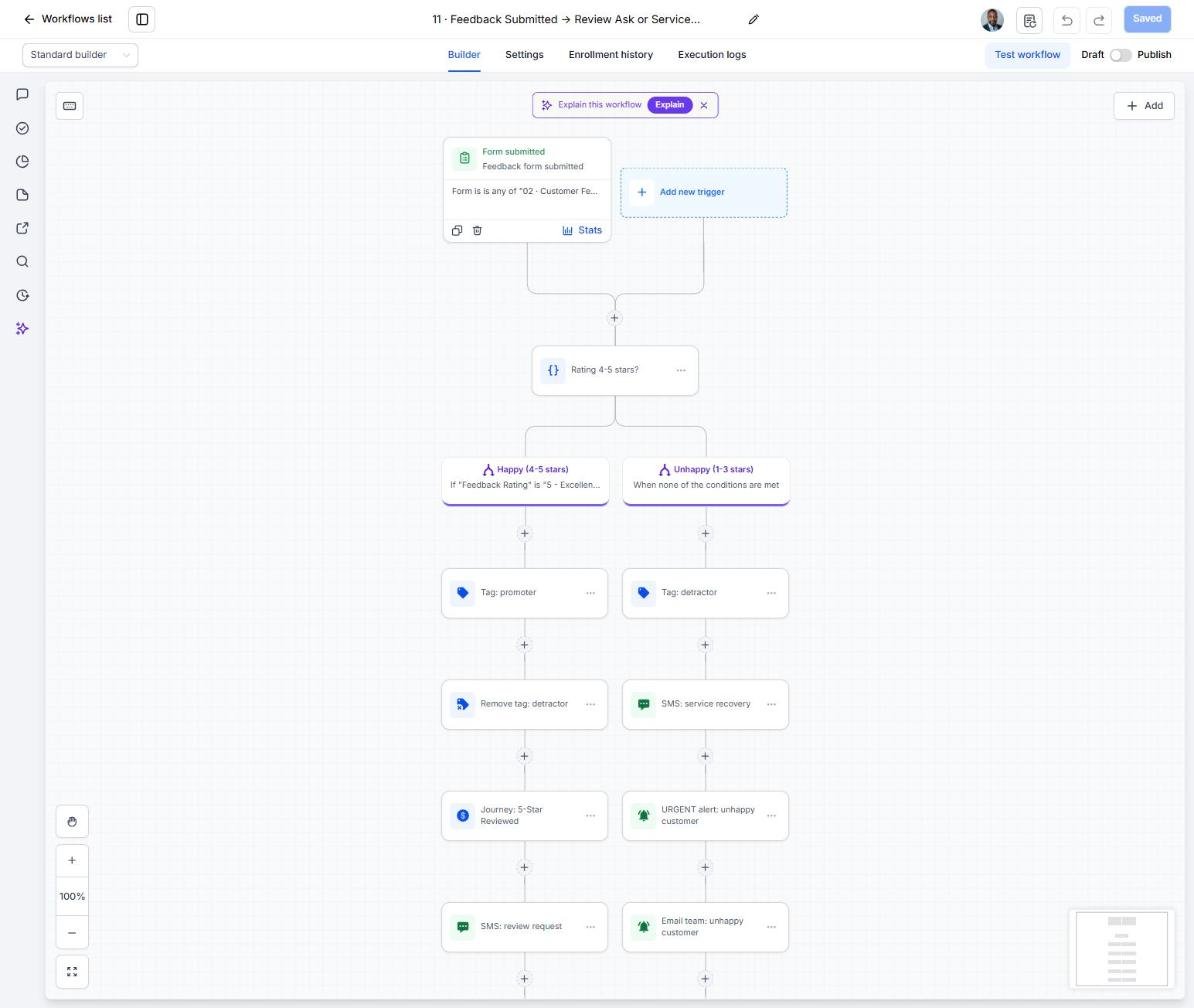
- Open workflow 11 and assign who receives private feedback from unhappy clients.
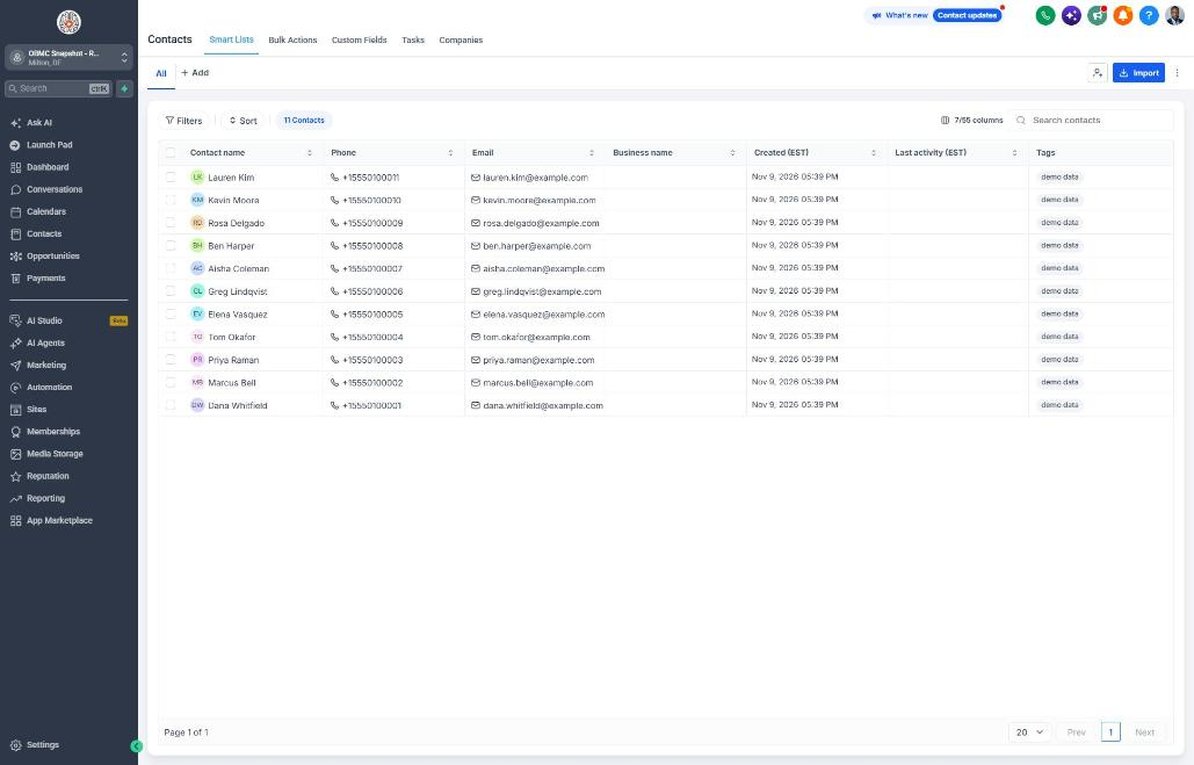
- Export clients with no visit in 90+ days, import them under Contacts and tag them 'start reactivation'.
- Book replies from the Reactivation pipeline and Conversations.
Lesson 6 of 6
Launch rebooking and slow-day fill-ups
Keep the book full every week and track the numbers that matter to the owner.
- Build a smart list of clients past their Rebook Interval and tag them 'service due'.
- Each Monday, check the week's openings and tag flexible clients 'niche campaign' to trigger workflow 21.
- Schedule the holiday campaign in workflow 20 for early November.
- Review the Dashboard monthly for rebook rate, no-shows, midweek fill and new reviews.
- Adjust rebook intervals and the midweek perk based on what fills the book.
Launch your next salon client this week
One-time $397. Includes the snapshot, both PDFs, the walkthrough and the mini-course. Or get all 20 niches for $1,997.