
💍 GoHighLevel snapshot · Wedding & Event Pros (Venues, Photographers, Planners)
Wedding & Events snapshot mini-course
Six short visual lessons. Follow along in your own GoHighLevel account and you’ll be live by lesson 6.
Lesson 1
Install the Snapshot and Make It Feel Like Your Brand
Lesson 2Capture Every Inquiry and Reply First
Lesson 3Book Tours and Consultations and Recover No-Shows
Lesson 4Follow Up on Every Proposal Until Booked
Lesson 5Reviews, Referrals, and Reactivating Past Inquiries
Lesson 6Launch Date-Hold Follow-Up and Anniversary Nurture
Lesson 1 of 6
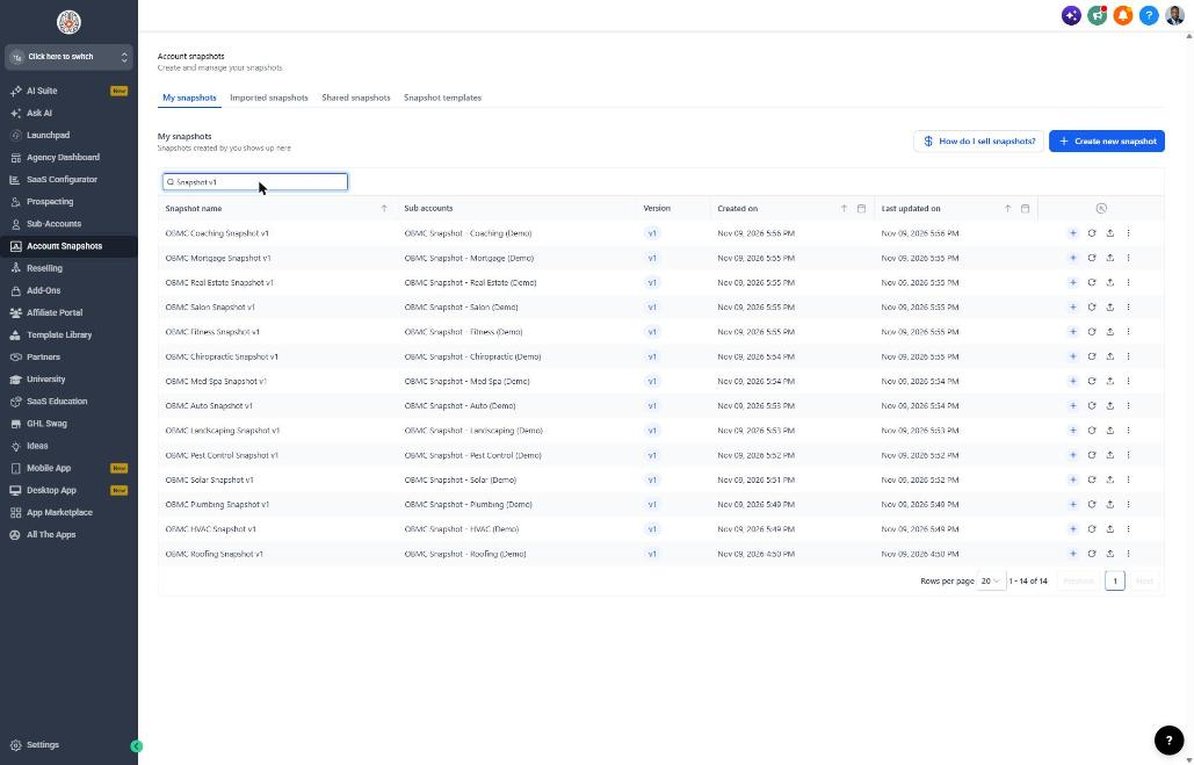
Install the Snapshot and Make It Feel Like Your Brand
Load the snapshot and match every message to your style and services.
- Go to Agency view > Account Snapshots and load the OBMC Wedding & Events snapshot
- Open Settings > Business Profile and set business name, address, and time zone
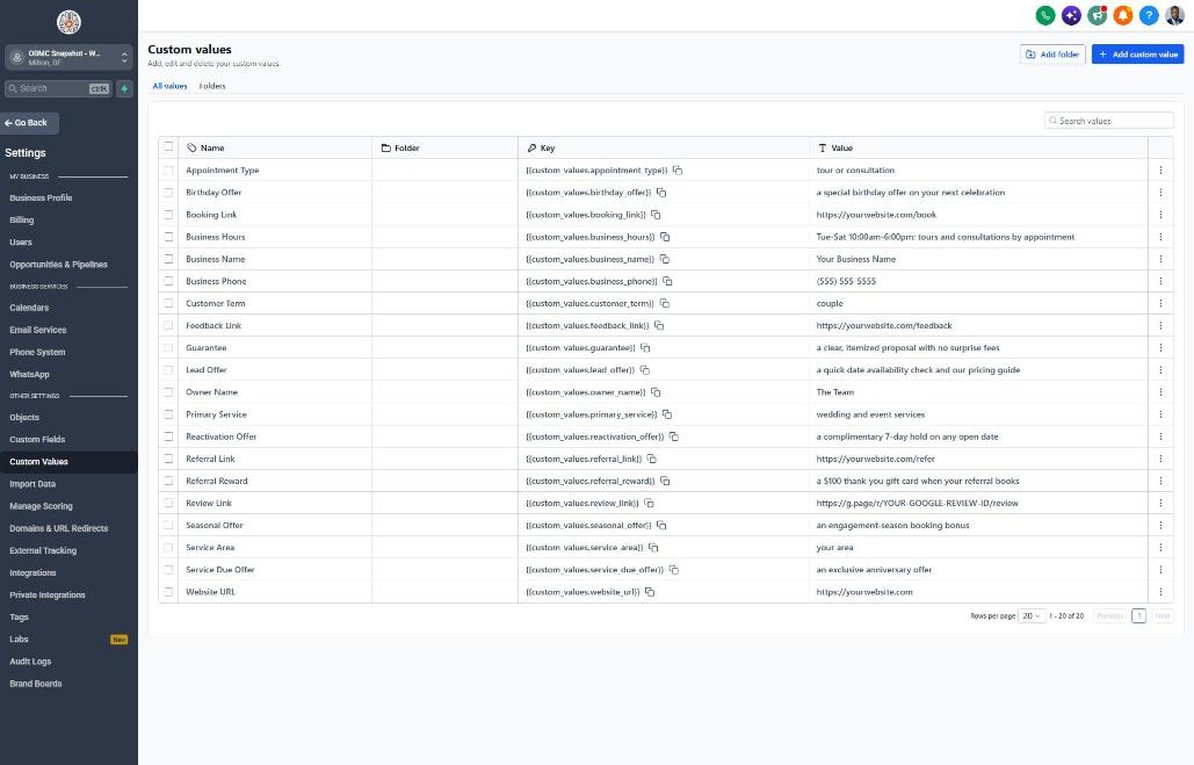
- Go to Settings > Custom Values and fill in owner name, phone, links, and offers
- Set Appointment Type to 'venue tour' or 'consultation' and Customer Term to 'couple' or 'client'
- Upload your logo and brand colors so forms and emails match your aesthetic
Lesson 2 of 6
Capture Every Inquiry and Reply First
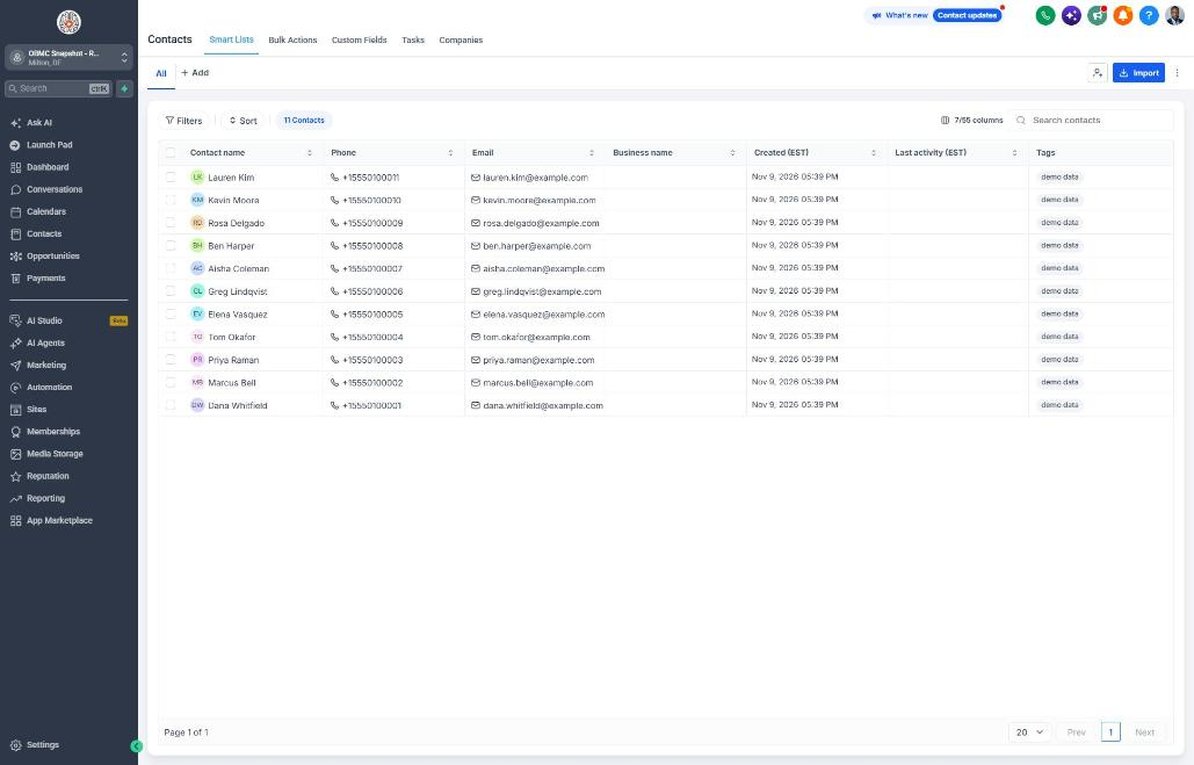
Get inquiries from your website, directories, and social into one fast follow-up.
- Open Sites > Forms > Builder and confirm Event Date, Event Type, and Guest Count on the inquiry form
- Embed the form on your website and Instagram link-in-bio
- Connect Facebook and Instagram in Settings > Integrations so DMs arrive in Conversations
- Route The Knot and WeddingWire lead emails into GHL so they trigger workflow 01
- Submit a test inquiry and confirm the text, email, and New Inquiry opportunity appear
Lesson 3 of 6
Book Tours and Consultations and Recover No-Shows
Fill your calendar with prepared couples who show up.
- Go to Calendars > Calendar Settings and open Tour & Consultation
- Block event days and set availability, buffers, and in-person and video options
- Paste the calendar link into Settings > Custom Values > Booking Link
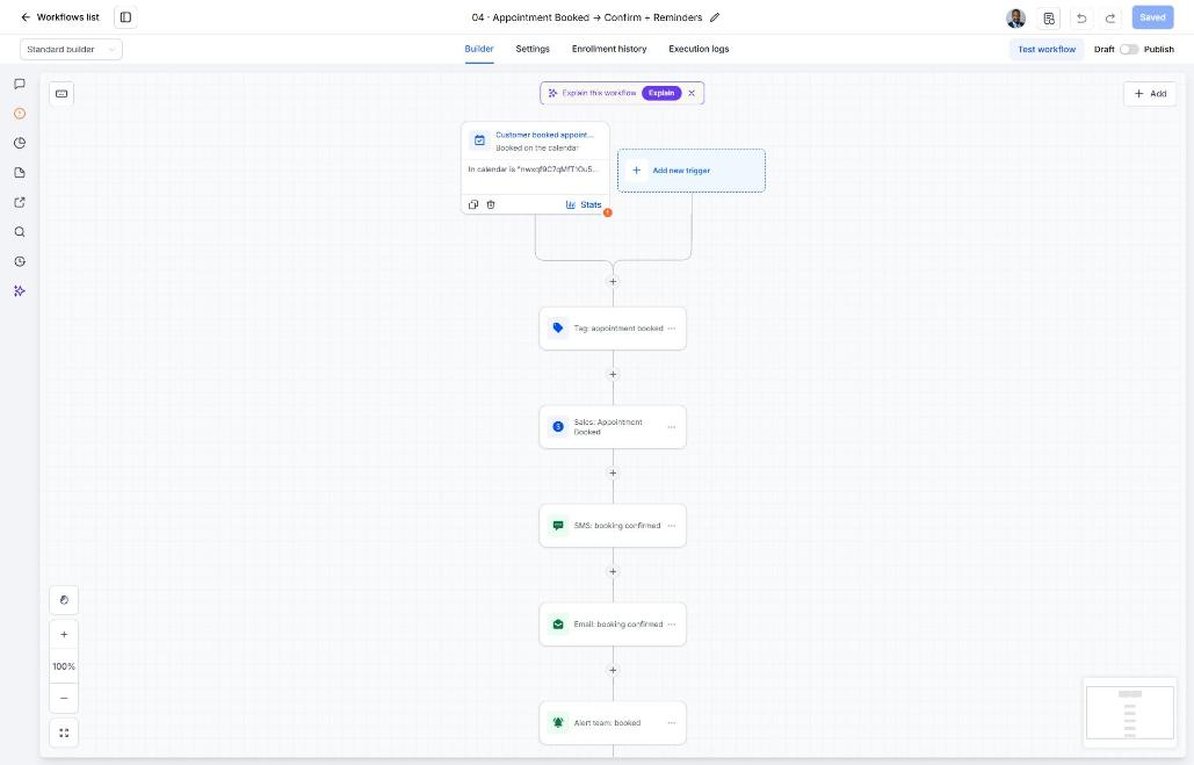
- Open workflow 04 and confirm the prep questions fit your business
- Mark a test appointment as no-show and confirm workflow 05 offers a video option
Lesson 4 of 6
Follow Up on Every Proposal Until Booked
Move every couple from tour to signed contract or a clear decision.
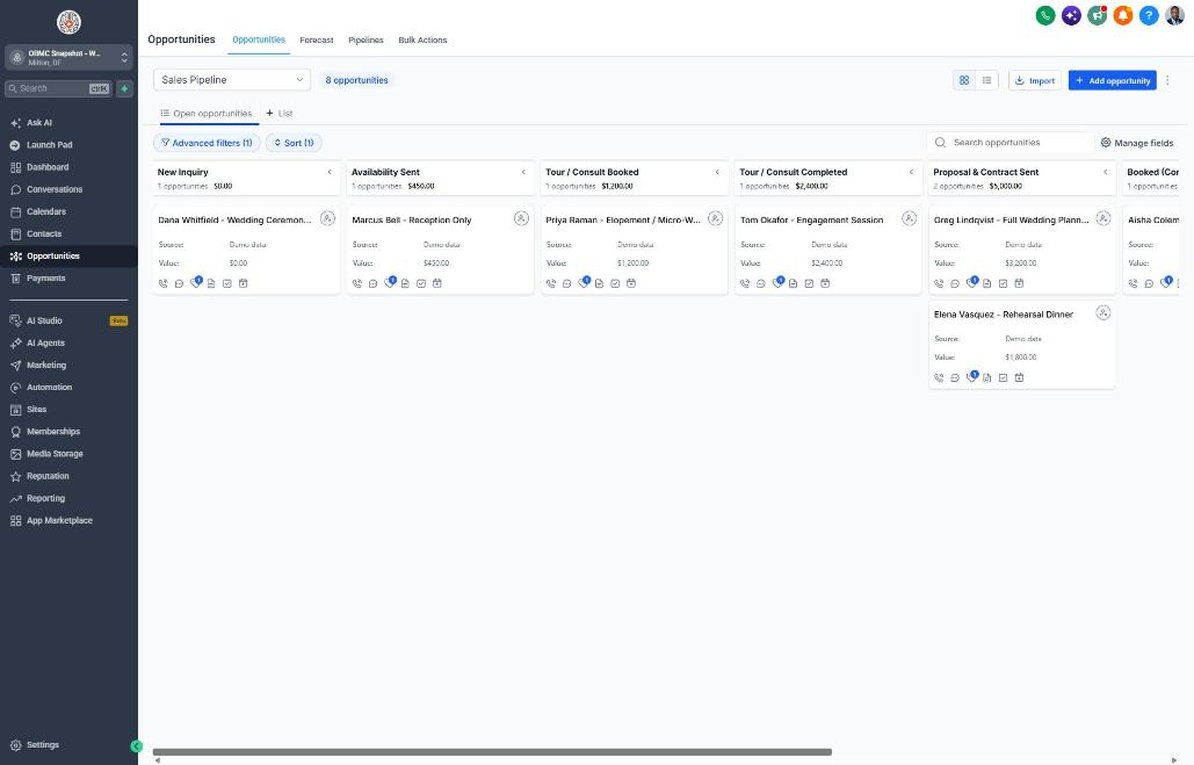
- Open Opportunities > Pipelines > Sales Pipeline and review stages from New Inquiry to Booked
- Move a test deal to Proposal & Contract Sent and confirm workflow 07 begins
- Set workflow 18 to alert you about proposals with no response after 3 days
- Connect Stripe in Payments > Integrations so retainers and installments trigger workflows 15 and 16
- Move a test deal to Booked and confirm workflow 08 sends the welcome
Lesson 5 of 6
Reviews, Referrals, and Reactivating Past Inquiries
Turn delivered events into reviews and introductions and revive couples still planning.
- Go to Reputation > Settings, connect Google Business Profile, and add the review link to Custom Values
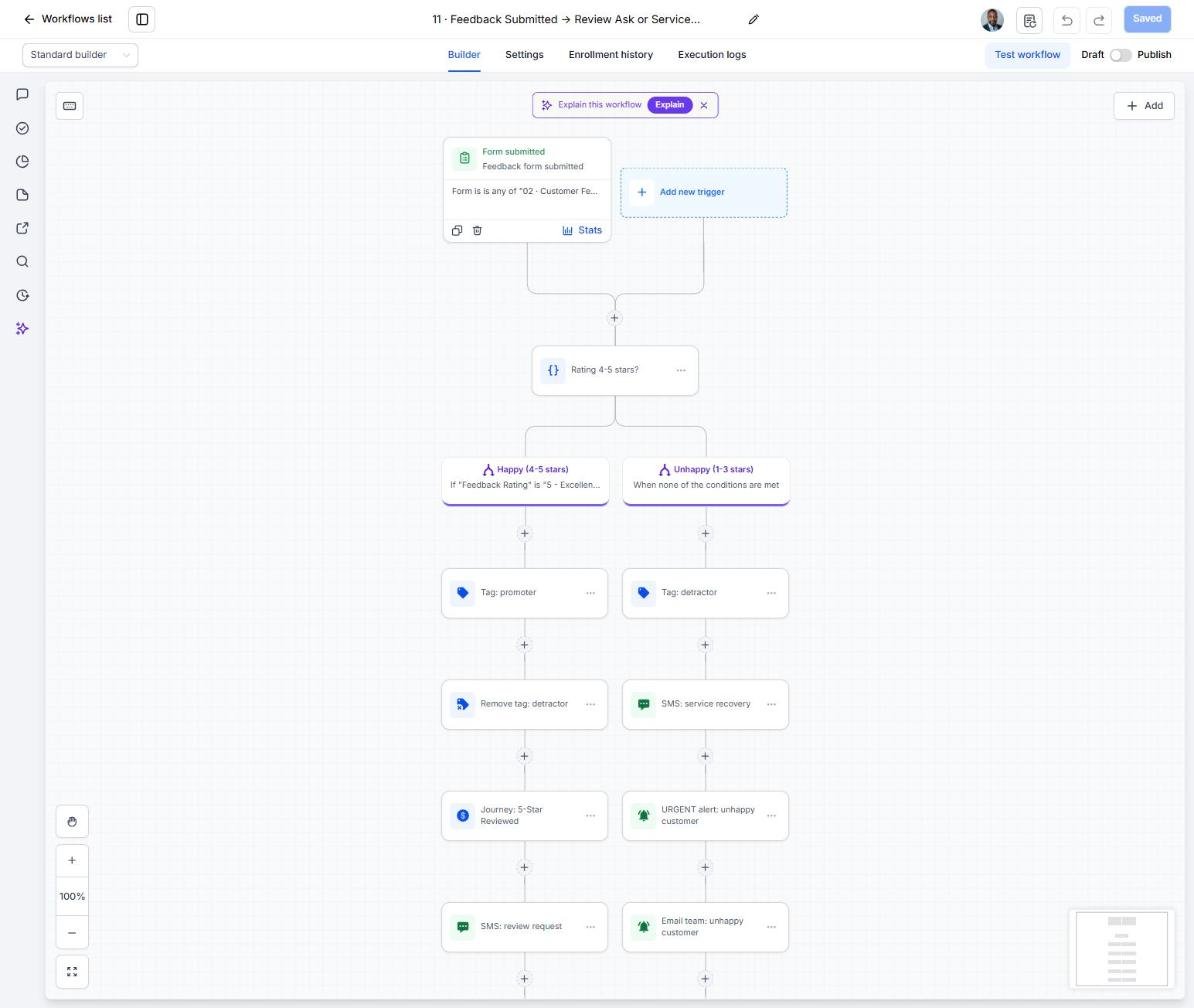
- Open workflow 11 and set your private alert for 1-3 star feedback
- Set the Referral Reward value and share your referral link with preferred vendors
- Import past inquiries in Contacts > Import and tag them 'reactivation'
- Enroll the tagged list in workflow 14 in small daily batches
Lesson 6 of 6
Launch Date-Hold Follow-Up and Anniversary Nurture
Get a decision on every date hold and keep past couples coming back.
- Add the Date Hold Expires field to your proposal process and fill it on every courtesy hold
- Open workflow 21 and set it to trigger 3 days before Date Hold Expires
- Import past couples with Event Date and confirm workflow 19 fires before each anniversary
- Schedule workflow 20 for late December through February engagement season
- Review inquiry response time, tour rate, and proposal-to-booking rate monthly in Opportunities and Reporting
Launch your next wedding & events client this week
One-time $397. Includes the snapshot, both PDFs, the walkthrough and the mini-course. Or get all 20 niches for $1,997.